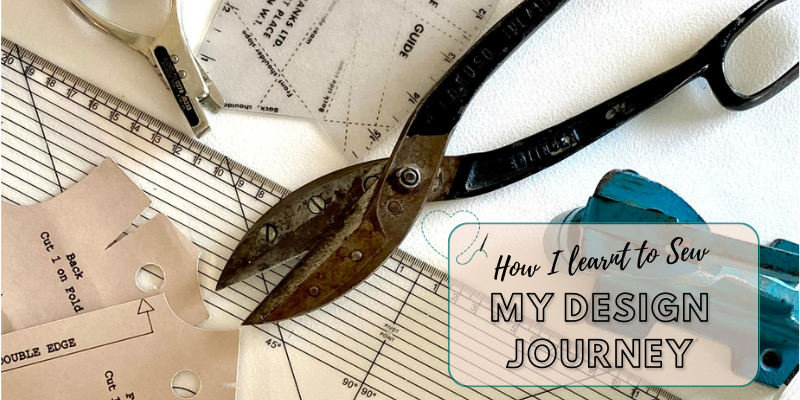
How I learnt to sew, and where it led me.
I can hardly remember a time when I wasn’t sewing something, making cross stitch bookmarks from kits, or cutting coloured felt fabric to make finger puppets. Here in the UK, there was a weekly comic magazine called “Bunty”, which I got every Tuesday. I would eagerly read the stories then turn to the back page, where Bunty’s cut-out wardrobe was printed, this was a printed doll with clothes that you cut out and attached with folded tabs. I think that’s where I got my enthusiasm for design. When I’d used all the printed outfits, I’d draw and colour in my own versions! It wasn’t long before I decided to try making my own clothes, and I couldn’t see why that wouldn’t be possible!
My first efforts involved hand sewing items at 8 years old, but by the age of 11, I was discovering another way to stitch things – on the school sewing machines. I was also allowed to use my Granny’s hand cranked Singer to sew on my frequent stays with my grandparents. Learning to use a sewing machine opened up a whole new world for me.
My first successful garments were mini skirts, inspired by innovative new 60s designers like Mary Quant. Independent boutiques were popping up everywhere, and for the first time, teenagers and young women had their own fashion inspiration. Our town still had an old fashioned high street, with a wonderful Aladdin’s Cave of a fabric shop on the edge of the old cattle market. That shop was always referred to as “Jim’s”, after the owner’s son. It was close enough to my school for me and my friend to nip out at lunchtime to buy half a yard of cloth with which to sew up a short skirt. This led to a lifetime love of sewing, and, I still buy from Jim, in that shop in our high street!
I would have loved to have gone into further education and study Fashion Design, but it wasn’t possible or affordable for me. It wasn’t until I was on maternity leave after having my daughter that I began to use my sewing skills to make a living. In the early 70s, childrenswear was very boring in the UK, it certainly hadn’t kept up with the vibrant fashions of that decade!
I was having great fun dressing my daughter in my own designs, and soon I was being asked by friends and family to make outfits for their own children. At that time, party plan was a popular way of selling – someone would host a party at their home and invite their friends along to view whatever was on sale. A work friend who lived a bit further away suggested that she host a party for me, and that began my manufacturing journey. At first, I made all the garments myself, but I soon needed to get a team of skilled workers to help keep up with orders.
It was uncommon for mothers to return to work after having babies then, because childcare was rare and expensive. However, skilled factory machinists would often continue to work at home, by buying or renting an industrial sewing machine, and there were lots of ladies in my area offering this service. By employing skilled “outworkers”, I learnt even more about sewing techniques. I also worked for a clothing manufacturer designing a childrenswear range, and learnt how to cut and grade patterns in the cutting room of his factory. I really thought I was a sewing expert until I ran my own clothing factory, but when I had a workshop of industry trained machinists I learnt even more about commercial garment construction!
The factory began with ancient second hand machinery, some dating back to the second world war! I upgraded whenever I could afford to, and when I was eventually able to buy state-of-the-art new machines, the supplier flew me out to their head office in Germany, where I completed a basic mechanic course, so that I could maintain the equipment. This reduced my mechanic’s bills enormously, and gave me an insight into the workings and application of modern sewing machinery.
By the late 80s, the factory was making garments for other designers, mostly women’s evening wear. These were busy times, and the period during which I learnt most of my sewing and tailoring skills. When shoulder pads became an essential part of many garments, we were all shown the best and quickest way to attach them by Andreas, a skilled tailor who worked as a presser and finisher. As we took on more and more tailored styles, his advice was invaluable, so were the skills of the machinists who had trained in the many sectors of the then thriving UK fashion industry. The new city of Milton Keynes had a constant influx of families into the area, and we were lucky to be able to employ staff who had worked in a variety of high standard clothing factories all over Britain and abroad.
After many happy years, I closed the factory when the demand for our services diminished, as more and more designers turned to cheaper sources abroad. I then spent the rest of my time working in production management for High Street retailers, monitoring suppliers for technical and quality efficiency. Being on “the other side” taught me a great deal about retail practice, and the importance of trend prediction and analysis of costs. By visiting offshore manufacturers, my eyes were opened to working conditions in remote factories. My employers were very concerned that workers should be paid fairly, be of an acceptable working age and in a good environment. This was quite a hard task to maintain, and I know that other companies were not so bothered about where their garments were produced. Sadly, some of today’s fast clothing makers still appear to put profit in front of welfare, and the impact on the environment of fast fashion is becoming well known.
Over the years, I have gradually honed my skills and discovered the joy of transforming fabric and trimmings into lovely garments that actually fit me. Slow fashion is a great way to create your own unique and bespoke wardrobe, and altering or recycling your existing clothes is fun and economically sound! The other thing that I have acquired is a love of teaching others to create or adjust patterns and learn to sew. Now, I wish to share my experiences and insights with you, hoping to inspire and encourage beginners to embrace this rewarding skill.
Why Sewing is a Valuable Skill
Sewing is not only a creative outlet but also a practical skill with numerous benefits. Crafting your own garments, accessories, and home décor can save money and reduce waste by repurposing fabrics. Furthermore, sewing offers a sense of accomplishment and fosters a deeper appreciation for the craftsmanship behind the items we use daily. By developing your sewing abilities, you can express your unique style, support sustainable practices, and even turn your hobby into a fulfilling career or side business. With dedication and practice, the possibilities are endless.
Sewing can also be a therapeutic form of self-expression, allowing you to disconnect from the digital world and immerse yourself in the tactile experience of working with textiles. As you become more adept at sewing, you’ll find that the process becomes meditative, providing an opportunity to unwind and focus on the task at hand. And let’s not forget the satisfaction of wearing or using something you’ve created with your own hands!
Join me as we explore the essentials for beginners, tips for success, and some easy sewing projects for beginners to kickstart your sewing journey.
Sewing for Beginners: Essential Supplies
Embarking on your sewing journey can be both exciting and a bit overwhelming. To help you navigate the world of sewing and create stunning projects, I’ve compiled a list of essential supplies for beginners. These tools will provide a solid foundation for your sewing endeavors and set you up for success.
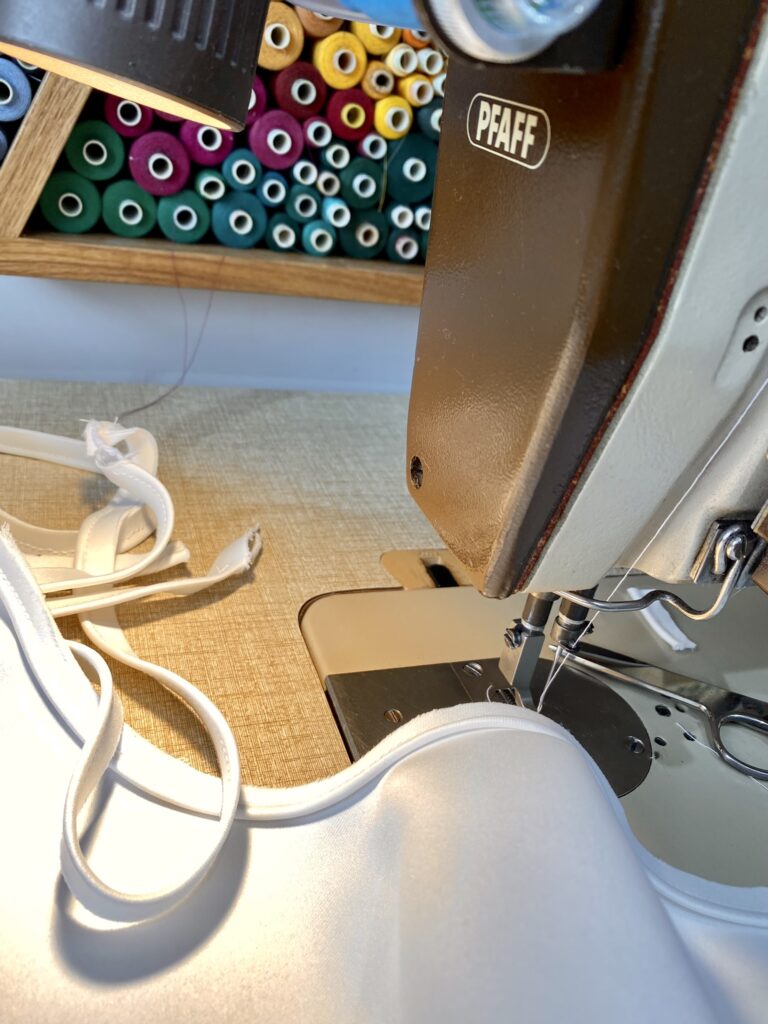
Sewing Machine
The centerpiece of your sewing arsenal is, undoubtedly, the sewing machine. A good, reliable machine is worth investing in, as it will make your sewing projects much more manageable and enjoyable. As a beginner, you may want to start with a basic yet versatile machine that can handle various stitches and fabrics. Familiarise yourself with sewing machine basics and how to use a sewing machine to ensure you get the most out of your new tool.
Fabric
The fabric you choose plays a pivotal role in the outcome of your sewing projects. As a beginner, it’s advisable to start with easy-to-handle fabrics like cotton, linen, or chambray. These materials are forgiving and allow you to make adjustments and learn as you go. As you gain confidence, you can experiment with more challenging fabrics like silk, chiffon, or leather.
Thread
High-quality thread is essential for strong and durable seams. Opt for all-purpose polyester thread for most projects, as it’s versatile and available in a wide array of colors. Don’t be tempted to buy cheaper overlocking threads to use on your sewing machine, these are not usually capable of standing up to the wear and tear of seams. As you advance, you might want to explore threads made from different materials, such as cotton, silk, or rayon, to suit specific fabrics and techniques.
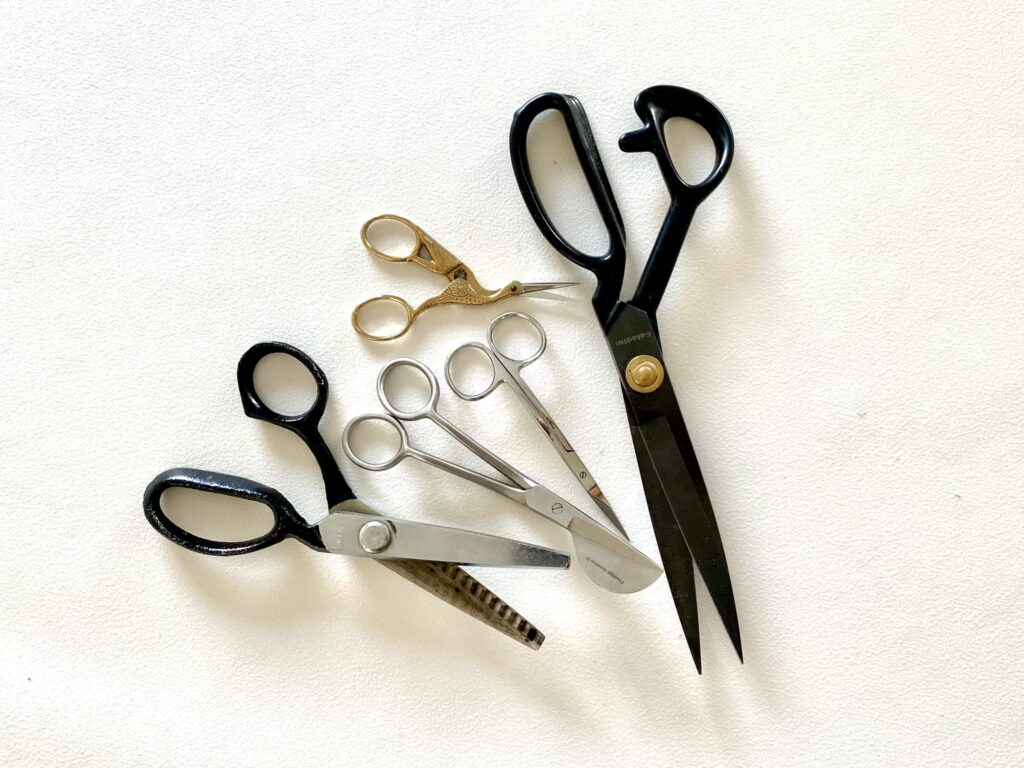
Scissors
A pair of sharp, high-quality fabric scissors is a must-have for any sewing enthusiast. These scissors should be used exclusively for cutting fabric, as cutting other materials can dull the blades. It’s also helpful to have a smaller pair of scissors or snips for trimming threads and making precise cuts. Some people like to have a stitch ripper, I prefer the control of a good pair of snips or small scissors to tackle mistakes – there’s less risk of damaging your fabric!
Pins and Needles
Pins help hold fabric pieces together while you sew, ensuring accurate and even seams. Invest in a set of sturdy, sharp pins and a pin cushion to keep them organised. You will also need a variety of hand sewing needles for tasks such as attaching buttons, finishing seams, or mending small tears.
Measuring Tools
Accurate measurements are crucial for sewing projects that fit well and look professional. A flexible measuring tape is indispensable for taking body measurements and measuring fabric pieces. A clear plastic ruler or quilting ruler can help you draft patterns or cut straight lines, while a seam gauge assists in measuring small distances, like seam allowances or hems.
With these essential supplies at your fingertips, you’ll be well-equipped to tackle your first sewing project. Start with something simple, like easy sewing projects for beginners, and gradually progress to more complex creations. Enjoy the journey, and remember that practice makes perfect. Happy sewing!
Choosing Your First Project
Simple Sewing Projects for Beginners
As a beginner, it’s essential to start with straightforward sewing projects that will help you build your confidence while learning the basics. By choosing less complex projects, you will be able to focus on mastering the fundamental techniques without becoming overwhelmed. Some great examples of easy sewing projects for beginners include:
Pillowcases
Tote bags
Simple skirts
Headbands
Hair bows
Placemats
Table runners
You will find inspiration and step-by-step tutorials for these projects on our blog, such as how to make a pillowcase and how to make a tote bag. As you gain confidence and experience, you can gradually progress to more advanced projects like sewing a dress or a quilt.
Importance of Starting Small
When I began my sewing journey, I quickly realised the importance of starting small and gradually working my way up to more complex projects. By beginning with simple, manageable tasks, I was able to:
Master basic sewing techniques: Before tackling advanced projects, it’s crucial to become proficient in essential sewing skills like threading a sewing machine, sewing straight lines, and creating seams. Starting with smaller projects allows you to practice these techniques without becoming overwhelmed.
Build confidence: Successfully completing a simple project can provide a significant confidence boost, encouraging you to continue learning and improving your sewing abilities.
Avoid frustration: Attempting complex projects too soon can lead to frustration and discouragement, potentially causing you to give up on sewing altogether. By starting small, you can maintain a positive mindset and enjoy the learning process.
Save time and resources: Choosing simple projects will help you avoid wasting valuable time, fabric, and other materials on projects that are too difficult for your current skill level.
So, remember to be patient with yourself, and don’t be afraid to start with small, easy projects as you embark on your sewing journey. With practice and perseverance, you’ll be amazed at the beautiful and intricate creations you’ll be able to craft in no time!
Basic Sewing Techniques
Embarking on your sewing journey, it’s essential to learn some basic techniques that will serve as the foundation for your future projects. In this section, I’ll cover threading a sewing machine, hand sewing techniques, sewing seams, and hemming.
Threading a Sewing Machine
Properly threading your sewing machine is crucial for creating even, secure stitches. To get started, follow these simple steps:
Place the spool of thread on the spool pin and secure it with a spool cap, if necessary.
Pull the thread through the thread guide and down into the tension disc.
Guide the thread upwards through the take-up lever.
Thread the needle from front to back.
Pull a few inches of thread through the needle’s eye and leave it hanging.
If you’re unsure about any of these steps, I highly recommend checking out our article on how to use a sewing machine for a more in-depth explanation.
Hand Sewing Techniques
While sewing machines are incredibly efficient, it’s still essential to know some basic hand sewing techniques. These skills come in handy for small repairs, delicate fabrics, or areas that are difficult to reach with a machine.
Running Stitch: A simple, basic stitch that is perfect for basting or gathering fabric. Simply insert the needle into the fabric, then bring it back up through the fabric a short distance away, creating a consistent, even line of stitches.
Backstitch: This stitch is sturdy and ideal for seams. Begin with a simple running stitch, then insert the needle back into the end of the previous stitch, pulling it through the fabric and creating a new stitch that overlaps the last.
Slip Stitch: A nearly invisible stitch used for joining folded edges, such as hems or bindings. Pick up a small amount of fabric along the folded edge and a small amount of fabric on the opposite side, creating a hidden stitch that holds the folded edge in place.
Sewing Seams
Seams form the foundation of most sewing projects, joining two pieces of fabric together. Here are a few tips for sewing strong, neat seams:
Always use the correct seam allowances specified in your pattern.
Press your seams open or to one side, depending on the pattern instructions.
For added strength, use a backstitch at the beginning and end of each seam.
Consider using a French seam for a clean, professional finish on lightweight fabrics.
Hemming
Hemming is the process of finishing raw edges of fabric to prevent fraying and provide a neat, polished appearance. There are several methods to hem your projects, but a basic double-fold hem is an excellent starting point. To create a double-fold hem:
Fold the raw edge of the fabric towards the wrong side by the desired hem width and press.
Fold the fabric again, enclosing the raw edge within the fold, and press once more.
Sew along the inner edge of the fold, creating a neat, finished hem.
For more detailed instructions and alternative hemming methods, check out our articles on how to hem a dress and how to hem pants.
By mastering these basic sewing techniques, you’ll be well on your way to creating beautiful, well-constructed projects. Remember that practice makes perfect, and don’t be afraid to ask for help or advice from fellow sewists. Good luck, and happy sewing!
Common Mistakes and How to Fix Them
Embarking on your sewing journey is both thrilling and challenging. Naturally, you might face a few hiccups along the way. Fear not, however, as I am here to help you tackle some of the most common sewing mistakes and learn how to fix them.
Uneven Stitches
One of the first issues you may encounter is uneven stitches. This problem can be caused by a variety of factors, such as inconsistent sewing speed, improperly threaded machines, or even using the wrong needle size for your fabric.
To solve this issue, ensure that your sewing machine is threaded correctly, as per the how to use a sewing machine guide. Additionally, double-check that you are using the appropriate needle size and type for your fabric. Lastly, practice maintaining a steady pace while sewing, as this will help you achieve uniform and even stitches.
Thread Tension Issues
Another common obstacle is thread tension issues. When the tension is too tight, your stitches may appear bunched up and puckered. Conversely, if the tension is too loose, the stitches may look messy and weak.
To address thread tension problems, first, verify that both the top and bobbin thread are correctly threaded. Then, gradually adjust the tension dials on your sewing machine to find the ideal setting for your specific fabric and project. Remember that it may take a bit of trial and error to get the tension just right, so be patient and persistent.
Seam Allowances
Finally, let’s discuss seam allowances. A seam allowance is the distance between the edge of the fabric and the stitch line. If you’re not consistent with your seam allowances, your final product may appear uneven or ill-fitting.
To avoid this, use a seam guide on your sewing machine, or mark the seam allowance on the fabric with a fabric pen or chalk before sewing. This will help you maintain a consistent seam allowance throughout your project. Additionally, measure and double-check your seam allowances regularly to ensure they remain consistent.
For more guidance on sewing techniques, check out these easy sewing projects for beginners, which include step-by-step instructions to help you refine your skills.
Remember, practice makes perfect, and even the most experienced sewists encounter hiccups along the way. By learning from these mistakes and seeking guidance when needed, you’ll be well on your way to becoming a proficient and confident sewist.
Tips for Sewing Success
Practice Regularly
Just like any other skill, sewing requires consistent practice to master. Allocate time each week to work on your sewing projects and make it a habit. The more you practice, the more confident and skilled you become. It doesn’t have to be a large project; even small tasks like how to sew a button or how to hem pants can help you sharpen your sewing prowess.
Learn from Mistakes
Mistakes are inevitable in the learning process, but they provide valuable lessons. When you encounter a sewing challenge, don’t be disheartened. Instead, analyse the issue, identify the cause, and find a solution. Embrace your mistakes as learning opportunities and use them to grow as a seamstress.
Join Sewing Communities and Classes
Connecting with fellow sewing enthusiasts can be incredibly beneficial. You’ll not only learn from others but also find inspiration and motivation in their work. Look for local sewing groups or join online forums and social media communities where you can share your experiences, ask questions, and offer support.
If you prefer structured learning, consider enrolling in a sewing class for beginners or taking online courses. These classes can provide you with a solid foundation in sewing techniques and help you gain confidence in your skills.
Don’t Be Afraid to Ask for Help
No one starts as an expert, and it’s perfectly normal to need assistance along the way. If you’re struggling with a particular technique or project, don’t hesitate to seek help from more experienced sewists, friends, or family members. You can also consult sewing tutorials, blog posts, and videos available online. Remember, there’s no shame in asking for help – it’s an essential part of the learning process.
In conclusion, the journey to becoming a proficient sewist is filled with excitement, challenges, and growth. By practising regularly, learning from your mistakes, connecting with others, and seeking help when needed, you’ll be well on your way to sewing success. So, pick up that needle and thread, and let the creativity flow!
Conclusion
The Joy of Sewing
As we reach the end of this article, I cannot help but express the immense satisfaction and joy that sewing has brought into my life. From the moment I began my sewing journey, it has been a creative outlet filled with endless possibilities. The gratification of transforming a piece of fabric into a beautiful garment, accessory, or home decoration is truly unparalleled.
There’s a sense of accomplishment and pride that comes from creating something with your own hands, especially when it’s a perfect fit or a personalised gift for a loved one. And, as you continue to enhance your skills with practice and patience, you’ll find that your passion for sewing blossoms even further.
Encouragement for Beginners
For those of you just starting your sewing adventure, I wholeheartedly encourage you to dive in and embrace the learning process. Remember that every expert was once a beginner, and it’s perfectly normal to make mistakes along the way. In fact, some of my most valuable lessons have come from my own errors and missteps.
Start with easy sewing projects for beginners and gradually work your way up to more complex designs. Keep an open mind and don’t be afraid to ask for help from fellow sewists, whether it’s in a sewing class for beginners or through online forums and communities.
Most importantly, enjoy the process and cherish the sense of accomplishment that comes with each completed project. I promise you that the journey is well worth it. Happy sewing!
So nice! Thank you for sharing <3
I've started this year and it is ledding me to a wonderful world <3